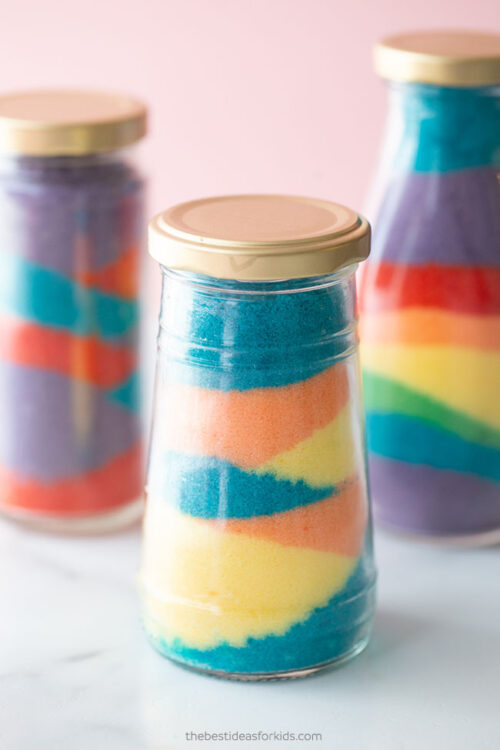
Colored Salt
Author & Credit: Kim Source: The Best Ideas For Kids
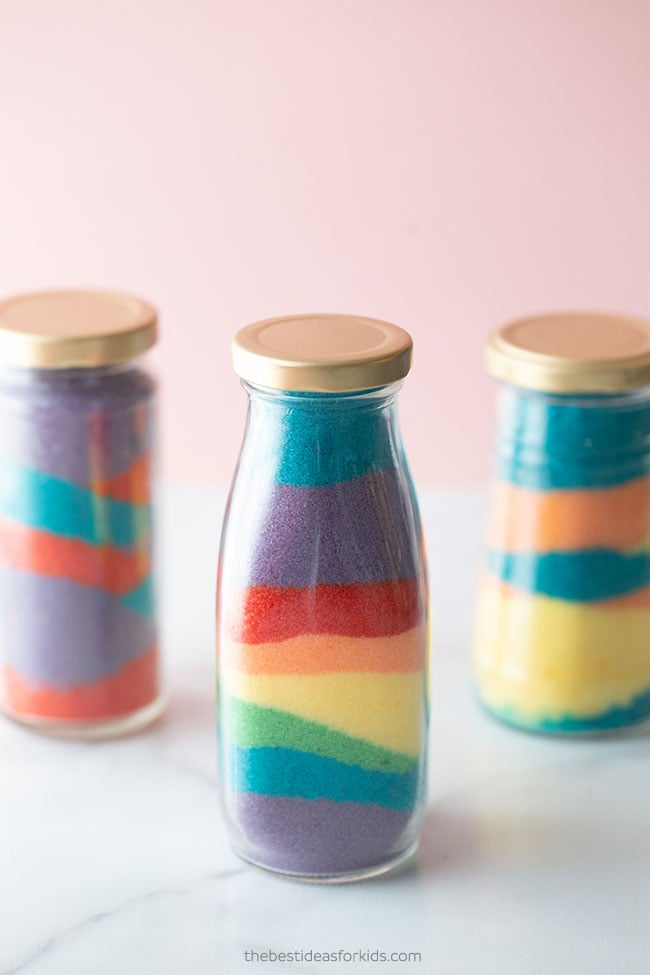
Did you know you can color salt? Sand can be expensive to buy so we used salt to make these colorful salt jars that look like sand jars! It’s easy to make and the results are amazing!
Colored Salt Jars
Make these beautiful sand look-alike jars using colored salt! You only need recycled jars, salt and some food coloring! Kids will love doing this activity too!
Supplies to Make Colored Salt Jars
– Table Salt
– Food Coloring – we like to use this liquid food coloring gel since it’s concentrated and makes the colors really vibrant
– Recycled Jars
– Gold Spray Paint (optional if you want to spray the jar lids)
– Resealable bags
How to Color Salt for Crafts
1. Start by cleaning out your recycled jars and remove any labels. You can soak the labels in soap water and they should come off. If you are left with any sticky residue you can use some Goo Gone(adults only).
We also spray painted our jar lids gold as they were black and we wanted the lid colors to be different. You can spray paint them any color you’d like!
2. Pour 1 cup of salt into a resealable bag
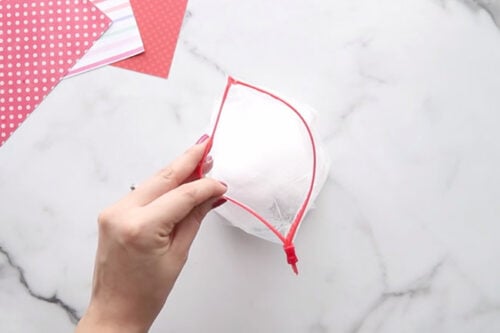
3. Add a little bit of food coloring to start. We started with a few drops of the concentrated food coloring. Seal and shake the bag to distribute the color.
Don’t add too much coloring or it will make the salt too wet and clumpy. If you need a little more coloring just add a little bit more at a time to avoid it getting too wet.
Also note – if the salt is too wet, the colors may bleed in the jars. So the less amount of coloring you can use the better. It’s always better to start with just a little and add more if needed.
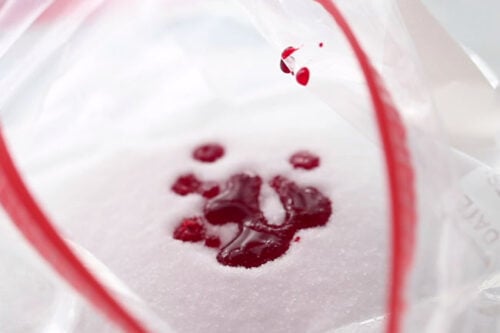
If any clumps do come up, scoop these out or keep mixing to combine it.
Keep shaking the bags until all of your salt is colored.
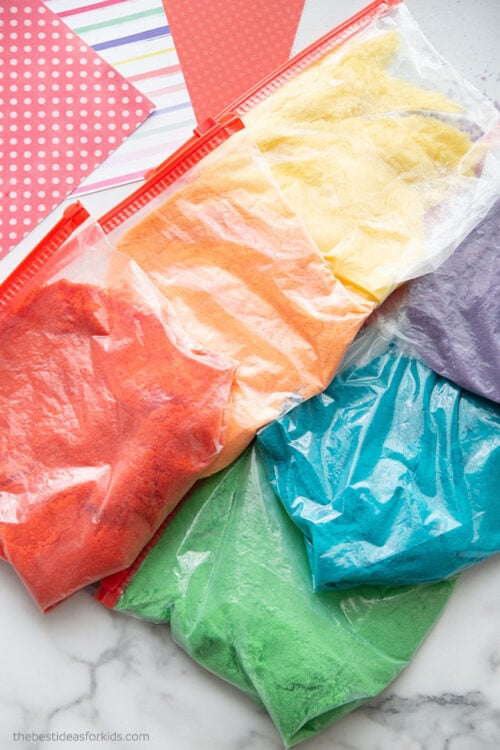
4. Add each color into a small bowl for scooping out.
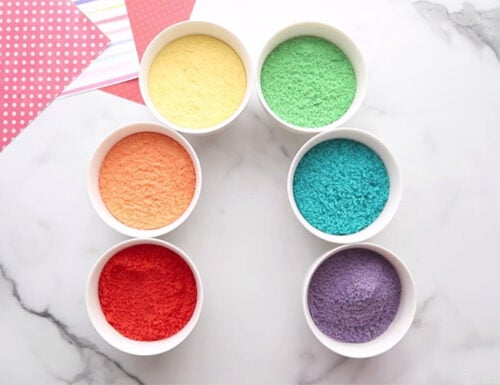
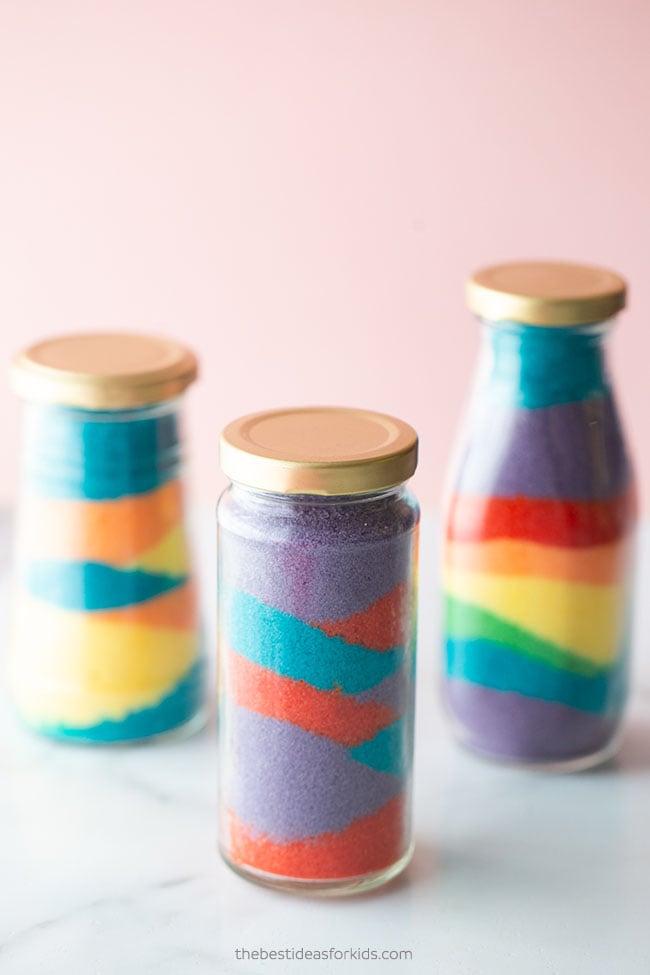
5. Now you are ready to start creating your jars! Using a funnel and small spoons or measuring spoons, have kids add different colors into the jars. You can layer any color combinations you’d like or make a rainbow version!
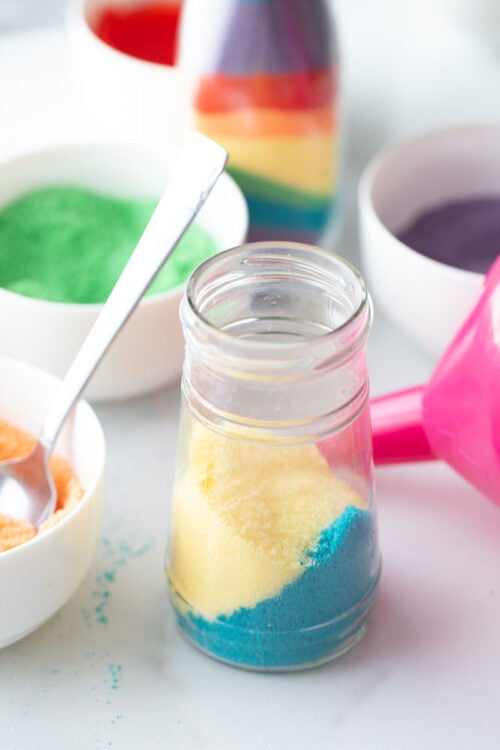
6. Keep filling the jars to the top. Some of the salt may settle down so it’s best to fill the jar to the top in case this happens. If you still have some settle, add some more salt into the jar after a day.
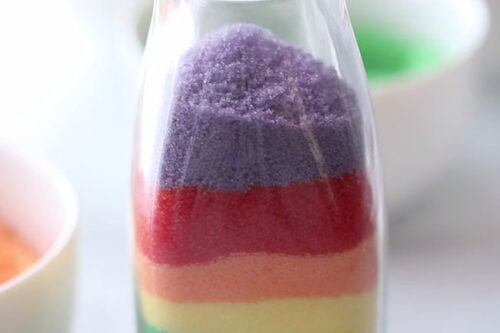
7. Now your jars are finished! These would make great gifts for birthdays, Mother’s day or even as teacher gifts.
